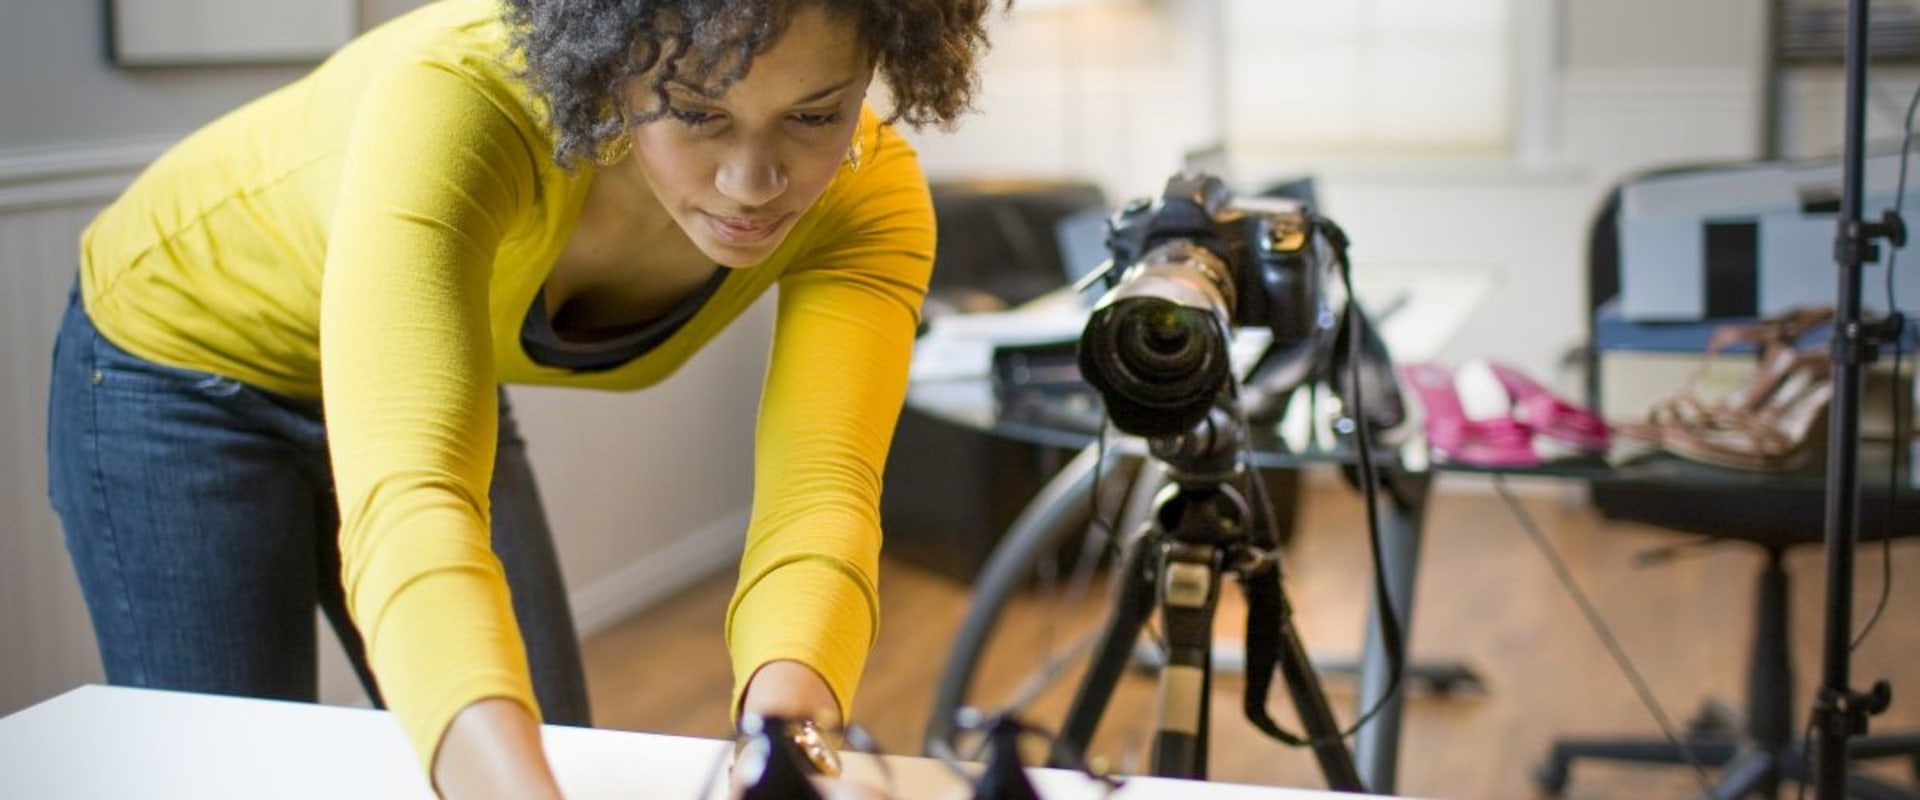
Are you ready to take your product photography to the next level? Taking good product photos requires more than just a good camera. Knowing how to set up your camera correctly can help you capture stunning images that will help showcase your product in the best possible light. In this article, we'll show you how to set up your camera for product photography, so you can get the best results. The first step in setting up your camera for product photography is choosing the right lens. Wide-angle lenses are best for capturing larger items, while telephoto lenses are better for capturing detailed shots of smaller items.
If you’re shooting multiple items in one shot, a standard or mid-range zoom lens is a good choice. Once you’ve chosen your lens, you’ll need to adjust the white balance and exposure of your camera. White balance helps ensure that colors are reproduced accurately in your photos, while exposure determines how light or dark your image will be. For product photography, you’ll want to use a manual white balance setting and adjust the exposure until you get the desired effect.
You’ll also need to adjust your camera’s focus settings. Autofocus is great for quickly getting sharp images, but it doesn’t always work well for product photography. For best results, use manual focus and focus on the area of your image that is most important. This will help ensure that all parts of your image are sharp and in focus.
Lighting is also an important factor in product photography. A good rule of thumb is to use two lights: one as a key light and one as a fill light. The key light should be placed at a 45-degree angle from the item you’re shooting, while the fill light should be placed at a 90-degree angle from the item. You can also use a reflector to bounce light back onto the item and create a more even look.
Finally, you’ll want to adjust your camera’s aperture and shutter speed settings. Aperture determines how much light enters the lens, while shutter speed determines how long the shutter remains open. For product photography, you’ll want to use a small aperture (large f-number) to get as much of the item in focus as possible, and a slow shutter speed to get enough light into your image.
Adjusting White Balance and Exposure
White balance and exposure are two of the most important settings when it comes to product photography. Adjusting the white balance helps to ensure that the colors in your photos are accurate and not distorted, while adjusting the exposure allows you to control how light or dark the image appears.When these settings are not adjusted correctly, your product photos may look washed out, too dark, or have inaccurate colors. It's important to remember that different lighting conditions will require different white balance and exposure settings. For example, if you're shooting in natural light, you may need to adjust the white balance to compensate for any color casts from the sun. Similarly, if you're shooting indoors, you may need to adjust the exposure so that the lighting isn't too bright or too dark. Finally, adjusting the white balance and exposure can help bring out details in your product photos.
By adjusting these settings, you can make sure that the details of your product are visible and clearly defined. This is especially important if you're selling products online where customers may not be able to see the products in person.
Choosing the Right Lens
Choosing the right lens for product photography is essential. Different lenses can help you capture different types of product shots. Wide-angle lenses can help you capture a wide field of view, making them ideal for capturing full-body shots of larger products.Telephoto lenses, on the other hand, allow you to capture close-up shots of smaller items. Prime lenses are also great for capturing detailed shots as they have a fixed focal length and a wide maximum aperture. If you are shooting in a studio, then you may want to use a macro lens as it can help you capture extreme close-up shots of your product. A macro lens will let you get up close and personal with your product, allowing you to show off the intricate details that make it unique. When it comes to choosing the right lens, it’s important to consider the type of shot you want to achieve. Different lenses can help you achieve different looks and create unique images that stand out from the crowd.
Aperture and Shutter Speed Settings
When it comes to product photography, it's important to use the right aperture and shutter speed settings in order to get the best results.A small aperture and a slow shutter speed will ensure that all of the details in the product are captured, while also allowing for the right amount of light to come through. A small aperture, or f-stop, is one that is less than f/5.6.This will create a narrow depth of field, which helps to keep the focus on the product and not on the background. A slow shutter speed will help to capture more light in order to get a good exposure. It should be at least 1/30th of a second, and can go as low as 1/8th of a second. Using a small aperture and slow shutter speed when taking product photos ensures that the entire product is in focus and that all the details are captured.
This helps to create professional-looking images that will help to boost sales and make a great first impression. It's also important to adjust the white balance and exposure settings in order to ensure that the colors in your product images look accurate and vibrant.
Lighting
When it comes to product photography, lighting is key. You need to be sure that your product is well-lit in order to capture the best possible image. To get the most out of your product photography, it's important to use two lights for product photography.Using two lights creates a balanced look, with one light providing the main source of illumination, and the other providing a fill light to reduce shadows and add depth. Using two lights also gives you more flexibility when it comes to positioning your product. You can use one light as a key light, positioned directly in front of the product, and the other as a fill light, placed at a 45-degree angle to the side of the product. This will create a more dynamic image with more depth. When setting up your lights, it's important to adjust the intensity of each one to create the right balance. The key light should be brighter than the fill light, but not so bright that it washes out the details.
Similarly, the fill light should be bright enough to reduce shadows, but not so bright that it overwhelms the image.
Two lights
are essential for creating the best lighting for product photography, allowing you to adjust the intensity of each one to create a balanced look with plenty of depth and detail.Manual Focus
When it comes to product photography, manual focus is the preferred setting over autofocus. That's because autofocus can be unreliable and produce inconsistent results, especially when shooting close-up shots. Manual focus requires more time and effort but provides more control over the focus, allowing you to precisely position the focus on the desired object or area. This helps ensure that your product images will have sharp details and accurate colors.Manual focus also allows you to adjust the depth of field, which is the distance between the nearest and farthest objects that appear in focus. A shallow depth of field can be used to isolate a product from its background, while a greater depth of field will keep the entire product in focus. This is important for product photography as it helps draw attention to the item being photographed. When using manual focus, be sure to use a tripod or other stable surface to keep your camera from moving.
This will help ensure that the focus is accurate and consistent. Additionally, make sure to check the focus of each shot before taking it, as small movements can throw off the focus. Using manual focus may require more time and effort than autofocus, but it is worth it for product photography. It allows you to precisely control the focus and depth of field, helping you create professional-looking images that will help boost sales and create a great first impression. Product photography can be daunting at first, but with the right camera settings, lighting setup, and focus techniques, you can create professional-looking images that will help boost sales and leave a great first impression.
Choosing the right lens, adjusting the white balance and exposure, using manual focus, and setting the aperture and shutter speed correctly are all essential elements to consider when setting up your camera for product photography. With these tips and tricks, you’ll be able to take great product images in no time.