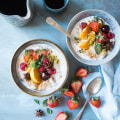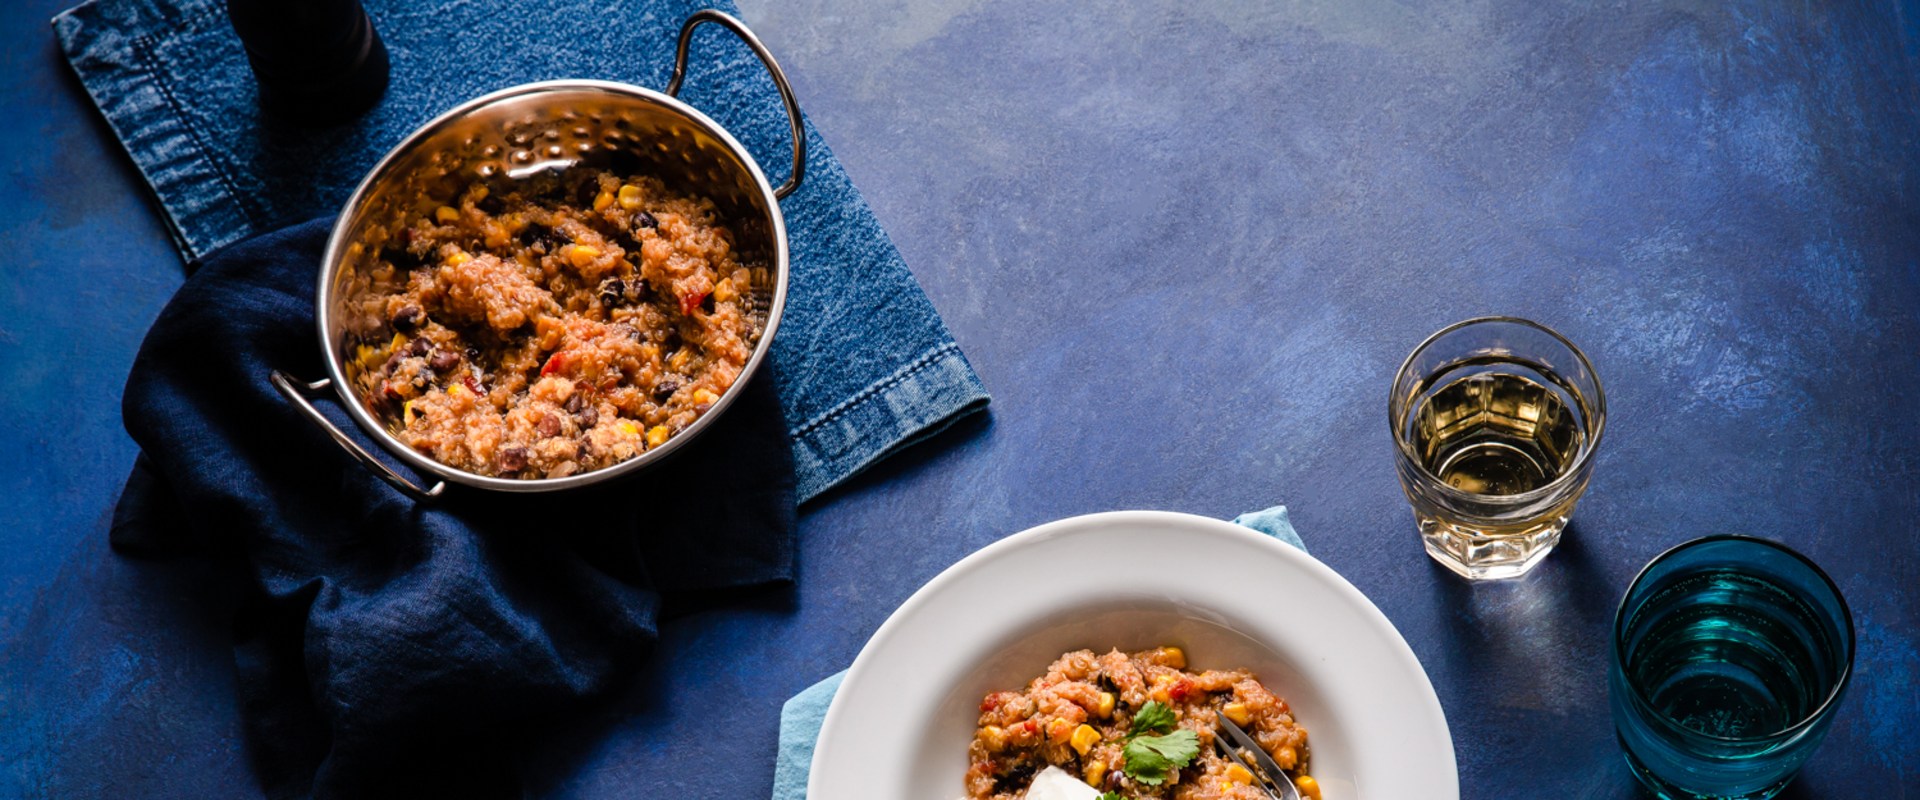
Food photography is an art form that requires a great deal of skill and technical knowledge. When done correctly, it can create stunning images that capture the beauty and flavor of the food. To make sure your food photos look their best, you need to understand the right lighting for food photography. From selecting the right equipment to setting up the perfect shot, this article will provide you with all the information you need to create amazing food photos. Lighting is an incredibly important part of food photography and can be the difference between a good shot and a great one. For aerial photography, an experienced aerial photographer will be able to capture the perfect shot from the sky.
Getting the lighting right is essential to creating a beautiful image that captures the colors, textures, and shapes of food in its best light. Lighting can also be used to set the mood of an image, or to make food look more appealing. There are several different types of lighting available for use in food photography, and choosing the right one for your needs can be a challenge.
Types of Lighting
– There are several different types of lighting available for use in food photography.These include natural light, studio strobes, continuous lighting, and flash. Natural light is usually the most desirable, as it provides the most natural-looking results. Studio strobes are a good option for more controlled lighting, as they provide a consistent light source and allow you to adjust the intensity and direction of the light. Continuous lighting is ideal for food photography that requires fast shutter speeds, as they provide a steady stream of light.
Flash is best used when you need a powerful burst of light for a specific moment in time.
Setting Up Your Lights
– When setting up your lights for food photography, it’s important to create an even spread of light across your subject. This can be achieved by using multiple lights positioned at different angles around the food. For example, one light may be placed above the food at a 45-degree angle, while another light may be placed behind the food at a 90-degree angle. It’s also important to consider how the light will interact with any props or backgrounds in the frame.Additionally, it’s important to adjust your lights according to the type of shot you’re taking. For example, if you’re shooting close-up shots of a dish, you may want to use softer, more diffused lighting, while if you’re shooting from farther away you may want to use brighter lights.
Creating the Perfect Lighting Environment
– Creating the perfect lighting environment for your food shots is essential. You should consider factors such as the size of your subject and the type of shot you’re taking when deciding on the best lighting setup. Additionally, it’s important to consider any shadows or reflections that may be created by your lighting setup.If possible, you should try to create an environment where there are no harsh shadows or reflections that could ruin your shot.
Using Natural Light
– Natural light is often the best choice for food photography as it provides a soft and natural look. When using natural light, it’s important to consider how the sunlight will interact with your subject and adjust your lights accordingly. Additionally, it can be helpful to use reflectors or diffusers to soften and spread out the light.Common Mistakes
– One of the most common mistakes made when using lighting for food photography is not considering how shadows and reflections may affect your shot. Additionally, it’s important to avoid using too much light, as this can create an overly bright and washed-out look.Finally, it’s important to make sure that all your lights are positioned properly so that they are evenly illuminating your subject.
Tips and Tricks
– When setting up your lights for food photography, it can be helpful to use multiple lights in order to create a more even spread of light across your subject. Additionally, it’s important to adjust your lights according to the type of shot you’re taking and any props or backgrounds in the frame. Finally, it’s important to consider how natural light will interact with your subject and adjust accordingly.Lighting Setup Tips
When it comes to setting up your lights for food photography, there are a few key tips to keep in mind. First, you should consider using a diffuser or reflector to soften the light, which will help to reduce shadows and create a more natural look.You can also use a background light to create a more dramatic look and bring out the colors of the food. Additionally, if you’re shooting indoors, you may want to use multiple lights in order to reduce unwanted shadows. Lastly, be sure to adjust the intensity of the lights according to the needs of the shot.
Light Positioning
When it comes to food photography, proper lighting is essential in order to capture the perfect shot. One of the key aspects of lighting for food photography is positioning your lights correctly.The position of your lights can have a significant impact on the quality of your photos. Here are some tips on how to adjust your lights to get the best results.
Position Your Lights for the Subject:
The primary goal of setting up your lights is to properly illuminate the subject. Positioning your lights too far away from the food can result in unwanted shadows and a lack of contrast. It is important to move the lights closer to the food in order to ensure that all areas are being properly illuminated.Use Soft Light:
When taking food photographs, you should strive for a soft, even light.Soft light will help create a pleasing look and will ensure that the food looks natural and appetizing. You can achieve this by using soft boxes or umbrellas to diffuse the light.
Avoid Direct Sunlight:
Direct sunlight is too harsh for food photography and can cause unwanted shadows and overexposure. It is best to avoid direct sunlight and use artificial lighting instead. This will give you more control over the look of your photos.Experiment with Different Angles:
Experimenting with different angles can help you find the best way to light your subject.Try moving your lights around and take some test shots to see how the light affects the photo. This will help you find the best angle for your photos.
Types of Lighting
Ambient lighting is the natural light that is already present in the environment. It can be used to create a soft, natural look in food photography. The advantage of using ambient lighting is that it requires minimal equipment and setup.However, when shooting with ambient light, you need to consider the direction and intensity of the light, as it can cast unwanted shadows on your food.
Continuous lighting
is a type of artificial lighting that produces a steady, even light. This type of lighting is great for capturing detail and colour in your food shots. Continuous lighting is usually in the form of LED or fluorescent lights, and typically comes with stands or clips so you can mount them in different positions.Flash lighting is a type of artificial lighting that produces a brief burst of light. It's great for creating dramatic effects and adding depth to your food shots. Flash lighting typically comes in the form of an external flash unit, and can be used with a variety of modifiers to create different lighting effects.
Strobe lighting
is a type of artificial lighting that produces a series of quick flashes.It is often used to freeze motion or create dramatic effects in food photography. Strobe lighting typically comes in the form of monolights, which are powerful, self-contained flash units with built-in modelling lamps and reflectors. The type of lighting you choose will depend on the type of shot you are trying to achieve. For close-up shots, continuous or strobe lighting may be best, as they allow for more control over the light source.
For more creative shots, flash or strobe lighting may be more suitable. Ambient light is great for more natural-looking shots, but it can be difficult to control. Lighting is a crucial element in food photography, and understanding the different types of lighting available as well as how to position and set up the lights can make a huge difference in the quality of the photos. Natural light is great for capturing the natural beauty of food but can be unpredictable. Artificial lighting can be used to create more dramatic effects, but it is important to remember the basics of lighting when setting it up.
Positioning the lights correctly, using a combination of hard and soft lighting, and experimenting with different angles will help you get the best results. With these lighting tips, you can create stunning food photography shots that will help you stand out from the competition.