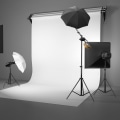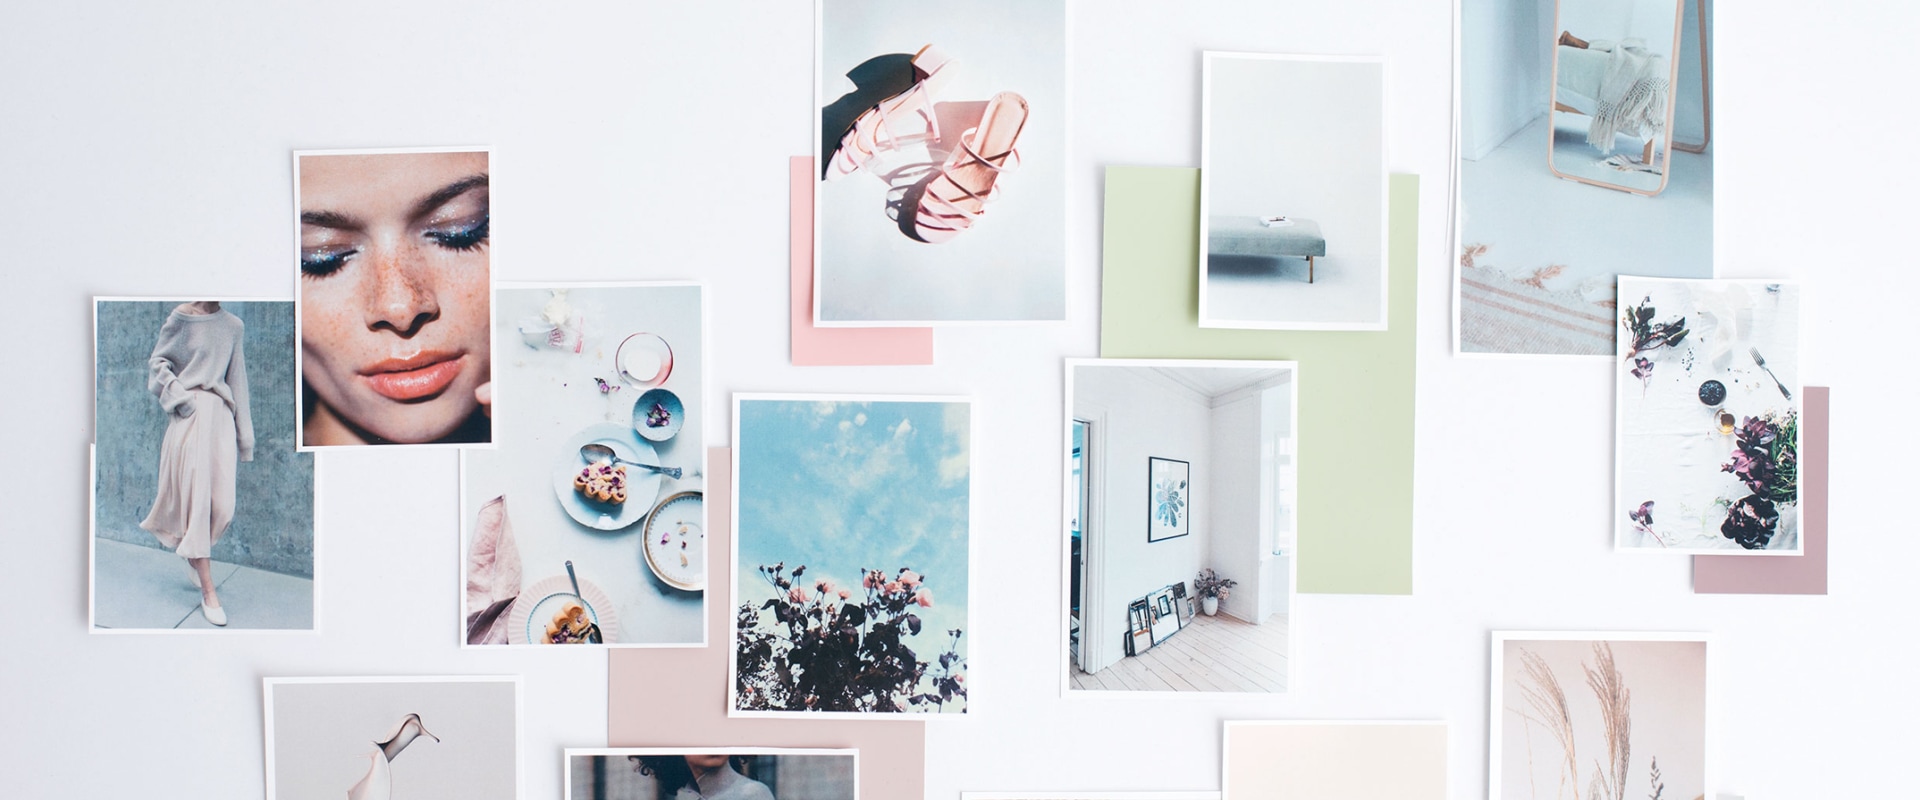
Creating mood boards is an essential part of the post-production process, allowing photographers to curate and arrange photos into a cohesive design that conveys a certain mood or feeling. With the help of the right tools and techniques, photographers can easily create stunning mood boards from photos that capture the desired aesthetic. In this article, we'll explore the best tips and tricks for creating mood boards from photos and discuss how to get the most out of your shoot through post-production techniques. The first step in creating a mood board is to choose a selection of photos that capture the tone and feeling you want to convey. This can be done by using a variety of techniques such as filtering, cropping, and adding effects to your images.
It is also important to keep in mind the colors, textures, and shapes that will help to create a cohesive look. Additionally, try to select images that are similar in style or have a common theme. This will help create a unified look and convey a stronger message. Once you have chosen your images, you can begin to arrange them into a mood board. Start by laying out the images in order of importance and then adjust the position of each image until you have created a visually appealing arrangement.
When arranging your images, it is important to consider the balance between text and visuals. Text can be used to provide additional information about the images or further explain the mood you are trying to create. Lastly, make sure you use high-quality images that are sharp and clear. This will ensure that your mood board looks professional and polished. When creating a mood board from photos, it is also important to consider post-production techniques such as color grading and retouching.
Color grading is a great way to bring consistency across all of your images and can help to create a unified look. Additionally, retouching can be used to enhance specific elements in your images such as textures or colors. Both color grading and retouching can help to make your images stand out and give them a more professional look. Finally, there are some tips and tricks you can use to get the most out of your shoot. For example, try shooting multiple angles of each scene so that you have more options when creating your mood board.
Additionally, try to keep your shots simple and focus on the details that will help bring your vision to life. Lastly, it is important to take note of any props or accessories that could be used in your shots as these can add texture and interest to your images.
Post-Production Techniques
Color grading and retouching are two post-production techniques that can help make your mood boards stand out. Color grading involves adjusting the colors of a photograph or video to create a specific look and feel. By tweaking the brightness, contrast, hue, saturation, and other settings, you can create a mood for your mood board that will draw viewers in.Retouching is another technique that can be used to enhance specific elements in the images you use. This could include removing blemishes, correcting exposure, and adjusting white balance. Both color grading and retouching are essential post-production techniques for creating stunning mood boards. Creating mood boards from photos is an effective way to communicate your message and get the most out of your shoot. By combining images, textures, and colors, you can easily create a visually appealing story that captures the tone and feeling you want to convey.
Additionally, post-production techniques such as color grading and retouching can help to enhance specific elements in your images and give them a more professional look. Finally, keep in mind some tips for getting the most out of your shoot such as shooting multiple angles and taking note of props that could be used in the shots.